M A S T E R P A G E
Step 2:
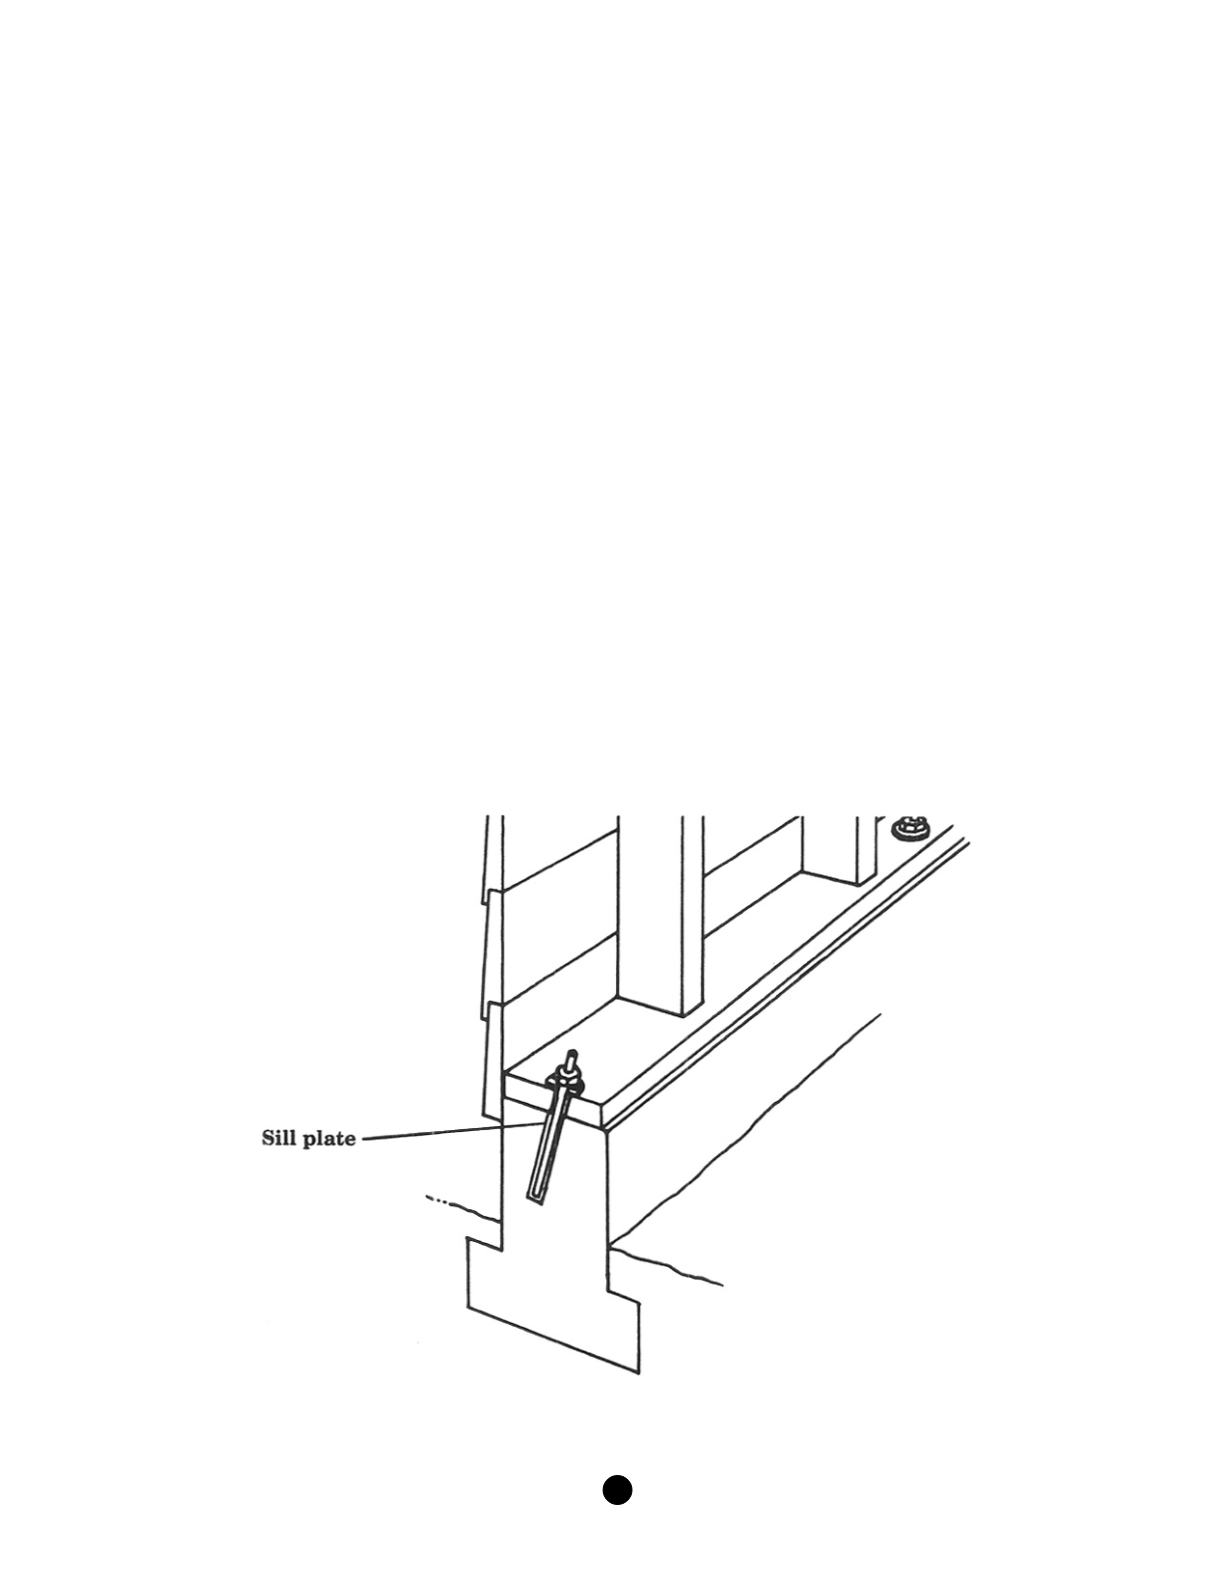
Install Blocking at Sill Plate
Note: This blocking is necessary only when the depth of the studs is different from the width of the sill plate, such as 2 x 4 studs attached
to a 2 x 6 sill. If the stud depth and the sill plate width are the same, skip this step.
Materials and Tools Needed
Q
Nominal 5 cm (2 in.) thick lumber (actually 4 cm, or 1.5 in. thick) the same depth as the studs
Q
16d (16-penny) common nails
Q
Electric drill to pre-drill holes for nails, if necessary
Q
0.2 cm (1/16 in.) diameter drill bits for pre-drilling nail holes and a bit at least 0.2 cm (1/16 in.) larger than the diameter (point-to-point
distance across) of the anchor bolt nut
Q
Carpenter’s hammer
Q
Measuring tape
Q
Pencil
Q
Eye protection
Q
Dust mask
Installation Instructions for Step 2
1. Measure distance between studs.
2. Cut pieces of blocking from 5 cm (2 in.) thick piece of lumber, the same depth as the studs, equal to the distance between studs, that the
blocking fits snugly.
3. In those stud spaces, where a new anchor bolt has been installed, mark the bolt location on the bottom of the blocking and drill a hole
large enough that the blocking fits over the bolt and rests fully on the sill plate.
4. Nail the blocking to the sill plate with between 3 and 6 16d nails. If blocking begins to split while the nail is driven, remove the nail and
drill pilot holes for each nail with the 0.2 cm (1/16 in.) diameter drill bit.
A G U
/
F E M A
308
S
E I S M I C
S
L E U T H S


